
Gone are the days when creating a passport photo required a trip to the studio or photo booth. With the right tools and a little guidance, you can now create a perfect passport photo from the comfort of your home — and save both time and money.
Whether you need the photo for a new passport, visa application, official ID, or travel documents, producing a professional-quality image that meets official standards is now easier than ever.
This article will walk you through the step-by-step process, highlight common mistakes to avoid, and introduce free online tools that can help you take a studio-like passport photo — all by yourself.
Why Create Passport Photos at Home?
There are several reasons why more people are choosing to create passport photos at home:
-
Cost-effective: Avoid paying for studio sessions or booths.
-
Time-saving: No need to travel or wait in line.
-
Multiple attempts: Take as many shots as you want until you’re satisfied.
-
Instant delivery: Generate and print the final photo without delays.
-
Privacy and control: Especially helpful for children or those with special needs.
With modern smartphones and AI-powered editing tools, home-based passport photo creation has become simple and reliable.
Passport Photo Requirements (General Guidelines)
While the exact requirements may vary depending on the country or document type, most passport photos follow international standards. Here are some universal rules you should follow:
-
Photo Size: Typically 2×2 inches (51×51 mm) or as required by the authority
-
Head Position: Centered with full face visible
-
Background: Plain white or light gray, with no shadows
-
Expression: Neutral expression with eyes open and mouth closed
-
Attire: Regular clothing (no uniforms); religious headwear allowed but must not obscure the face
-
Lighting: Even lighting with no glare, shadows, or red-eye
Always check your country’s official guidelines before finalizing the photo.
Step-by-Step: How to Create a Passport Photo at Home
Step 1: Prepare the Setup
-
Choose a well-lit area with natural or white lighting.
-
Stand against a plain white or light-colored wall.
-
Ensure there are no visible patterns, shadows, or objects in the background.
-
Avoid using flash if it causes glare or red-eye.
Step 2: Dress Appropriately
-
Wear normal, everyday clothes (no white tops, as it can blend into the background).
-
Avoid accessories like glasses (unless permitted) or hats (unless worn for religious reasons).
-
Ensure hair is pulled back or neatly arranged, not covering the face.
Step 3: Use a Smartphone or Camera
-
Use a high-resolution camera or modern smartphone.
-
Hold the camera at eye level, 1.5–2 meters away.
-
Ask someone to help take the picture or use a tripod and timer.
-
Keep your face neutral, with eyes looking straight at the camera.
Step 4: Edit and Crop the Image
Once the photo is taken, you’ll need to crop and adjust it according to official standards. You can use online tools to:
-
Crop to the correct size (2×2 inch or as required)
-
Align your face and eyes within the required frame
-
Adjust brightness and background if needed
One of the best tools for this purpose is:
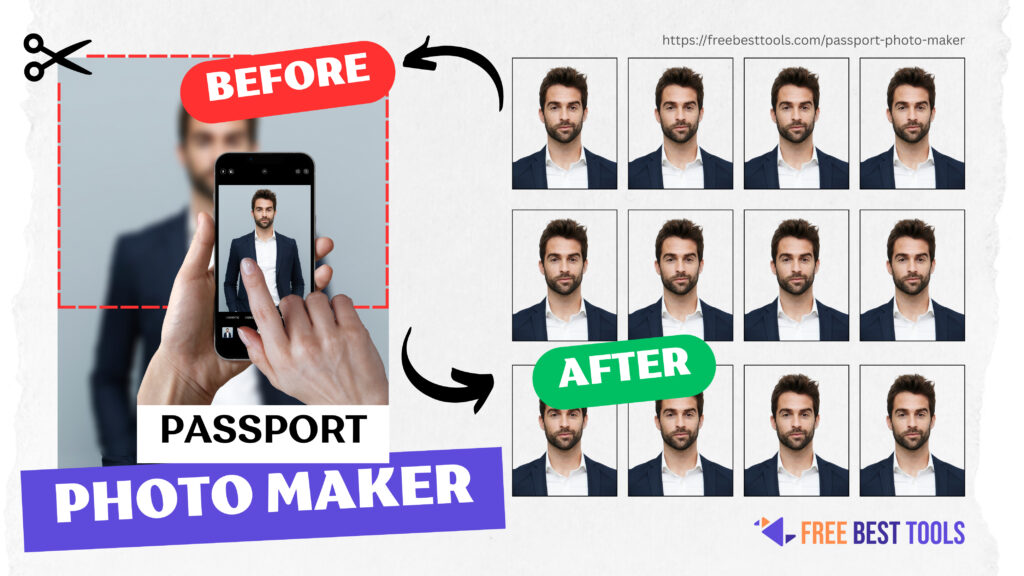
FreeBestTools.com – Passport Photo Generator
The Passport Photo Maker at FreeBestTools.com is a user-friendly, free online tool designed to help anyone create professional passport photos quickly.
Key Features:
-
Supports passport photo formats for USA, UK, India, EU, and more
-
Automatically crops and aligns image
-
Removes and adjusts background to plain white
-
Allows for downloading print-ready templates
-
No software installation or account required
How to Use:
-
Visit the tool on FreeBestTools.com
-
Upload your photo
-
Select your country and document type
-
Let the tool automatically resize and align the image
-
Preview and download your passport photo
Common Mistakes to Avoid
-
Shadowed background: Always use a flat, well-lit wall.
-
Poor lighting: Avoid strong side lighting or flash directly from the front.
-
Wrong expression: No smiles, frowns, or tilted heads.
-
Incorrect size or cropping: Use an online tool to match specific size requirements.
-
Wearing glasses or hats (unless required): These can lead to photo rejection.
Taking the time to get these details right can save you from delays or rejections during document processing.
Printing Tips (If Needed)
If you need a physical copy of your passport photo:
-
Use high-quality photo paper (glossy or matte)
-
Print in color, not black and white
-
Ensure the photo has no creases or marks
-
Use a professional printer or visit a local print shop with your downloaded template
Many online tools (including FreeBestTools) generate a printable sheet with multiple copies for convenience.
Use Cases Beyond Passport Applications
Creating transparent or compliant ID-style photos at home can be useful for:
-
Visa Applications
-
Student ID cards
-
Job Applications
-
Online Profiles
-
Driving License Renewals
Having a ready-to-use passport photo can save time for all sorts of official needs.
Conclusion
Creating a perfect passport photo from home is no longer a challenge. With just a smartphone, a plain background, and a free online tool like FreeBestTools.com, anyone can take and process a professional-quality image in minutes.
You’ll not only save time and money but also get full control over the result. By following the right steps and using the proper tools, you can ensure your photo meets all official standards — no studio required.
Ready to create your passport photo?
Visit: Make Passport Photo Online
